Midjourney AI: In the realm of AI art creation, Midjourney is a standout tool that crafts images based on text prompts. Alongside popular counterparts like DALL-E and Stable Diffusion, Midjourney has earned its place. What makes Midjourney intriguing is its self-funded and closed-source status.

Adding a touch of mystery to how it works compared to its competitors. As you explore the world of AI-generated art, Midjourney’s unique approach and enigmatic nature make it an interesting player, sparking curiosity about the creative magic happening behind the scenes.
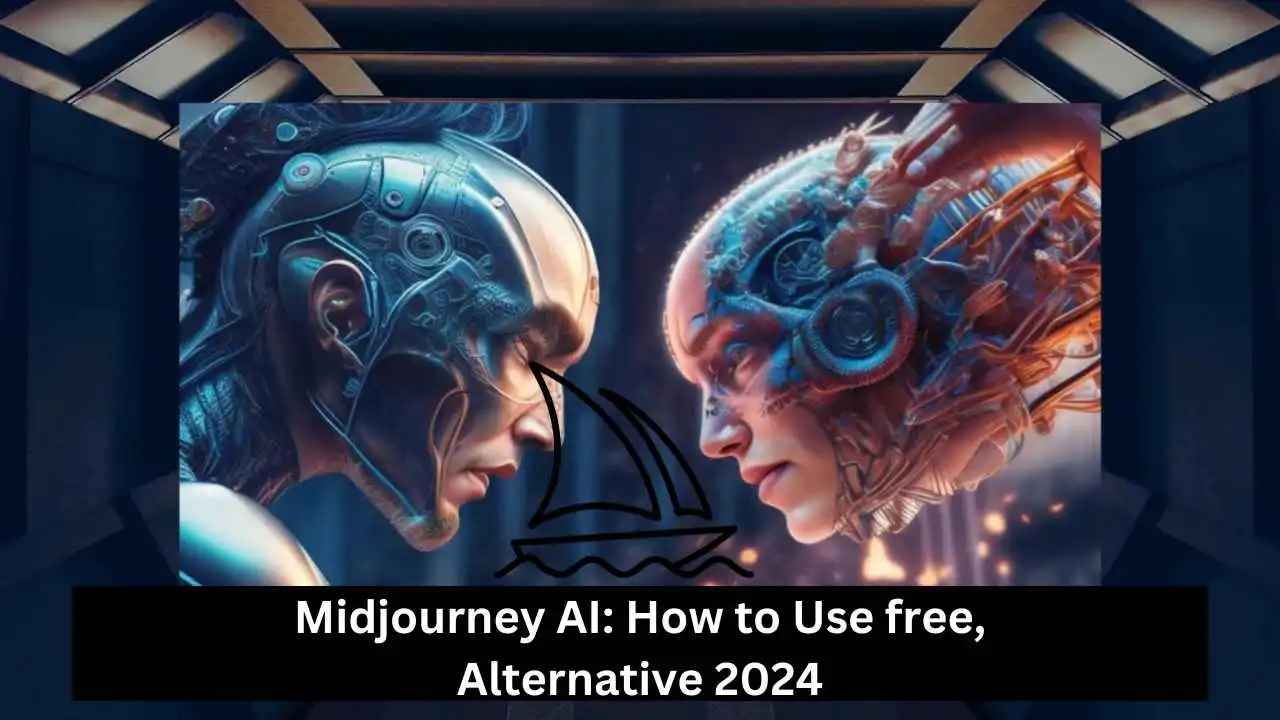
Midjourney AI
Midjourney AI is a cutting-edge platform gaining attention in generative AI for art. Renowned for transforming text prompts into captivating images, it stands with counterparts like DALL-E and Stable Diffusion.
What makes Midjourney unique is its self-funded, closed-source status, adding mystery to its inner workings. Users are drawn to its creative potential, exploring unique artistic landscapes based on textual cues.
As a powerful player in AI-generated art, Midjourney captivates users with its innovative approach. Its blend of self-sufficiency, closed-source architecture, and the ability to craft visuals from text prompts positions Midjourney as a dynamic force in the ever-evolving world of generative art.
How to use Midjourney AI
Midjourney is my favorite AI image generator, delivering consistently intriguing results—even handling hands, a challenge for many AI tools. While it would be a top pick for everyone, the catch is its unique usage.
Unlike Stable Diffusion and DALL·E 2, you can’t install Midjourney or use a sleek web app. Nope, the only way in is through Discord. It’s an unconventional route, but the quality it brings makes the journey worthwhile. Let’s explore more.
1. Sign up for Discord
Discord, originally designed for gamers, is a chat app akin to Slack. It’s widely popular among gaming groups, arts, and hobby communities. Midjourney’s choice of Discord might seem a bit convoluted, but it has its reasons.
Before diving into Midjourney, make sure to sign up for a free Discord account on their website if you don’t have one already.
Sign up for Midjourney
Got a Discord account? Great! Head to the Midjourney website, hit “Join the Beta,” and voila! An invite to the Midjourney Discord channel pops up. Click “Accept Invite,” and you’re in. Easy as pie.

To subscribe to a Midjourney plan, head to one of the newcomer rooms (called things like #newbies-14 and #newbies-44).

Simple as can be! In the message field, type /subscribe, then hit enter or return. That’s a slash command, the way you talk to Discord bots like Midjourney. It’s your way of telling Midjourney, “Hey, I want to subscribe!” Easy peasy.

Pricing is simple: kick off at $10/month for the Basic Plan, giving you around 200 image generations monthly. Want the Mega plan at $120/month? That bags you roughly 3,600 AI-generated images in a jiffy and unlimited generations if you don’t mind a tad longer wait.
Once signed up, hop back into Discord – let the creativity commence.
3. Generate your first image
Midjourney loves its community, smoothly sailing on Discord. Yet, brace yourself for the #newbies channels—they’re buzzing with prompts and requests. Dive into these channels to pick up the best tricks of the trade.

As a paying user, you get the green light to shoot commands to the Midjourney Discord bot through direct messages. Quick note: these commands default to being out in the open on the members’ gallery. For a bit of privacy, you’ll want to subscribe to the fancier Pro or Mega plans.
For now, let’s roll with the #newbies channel. But if you’ve sprung for a paid plan and crave a quieter spot, hit up the Midjourney Bot, toss it a direct message, and soak in the calm creative vibes.

Easy peasy! Just type /imagine in the message box, add your text prompt, and hit Enter or return. The beauty? You can type anything you fancy, but if you’re hunting for inspiration, here are a few ideas to kick things off:
- A Canadian man riding a moose through a maple forest, impressionist painting.
- A Vermeer painting featuring an Irish wolfhound enjoying a pint in a traditional Irish bar.
- A hyper-realistic render of a mermaid gliding through a green kelp forest surrounded by fish.
Give it a minute or so, and voila! Four variations of your prompt will pop up. Let the creative magic unfold.

If your experience with Midjourney is anything like mine, at least one of them will be excellent.
4. Edit your images
You will see eight buttons under each set of photos that you generate: U1, U2, U3, U4, V1, V2, V3, and V4.

Piece of cake! The U buttons do the upscale trick, creating a larger version with extra details for images from Midjourney versions before V5. For the latest models (defaulting to 1024 x 1024 px images), the U buttons simply extract them for easy edits and saving.
Next up, the V buttons jump in, crafting four fresh variations of your selected image, perfectly matching its style and composition.
And don’t miss the Re-roll button—it’s your ticket to a prompt redo, whipping up four brand-new images in a jiffy.
These buttons? They’re your creative sidekicks, letting you fine-tune and tailor the kind of images Midjourney dishes out. Time to unleash your creative power.
How to edit images with pan and zoom

Let’s break it down for a smooth ride! When you opt for the U buttons in the latest Midjourney version, you’re unlocking some cool extra controls. Here’s the scoop:
- Vary (Strong) and Vary (Subtle): (available from Midjourney 5.2) Whip up four variations of your chosen image.
- Zoom Out 2x and Zoom Out 1.5x: Zooms out your image and automatically adds more content based on the original prompt and Midjourney’s magic.
- Custom Zoom: Zoom out and toss in an extra prompt at the same time. Imagine your image showcased on a wall as framed art.
- Pan Arrows: Four arrows that automatically expand your image in the chosen direction, building on existing content and the original prompt. Once you start panning, keep going in that direction.
- Make Square: Turns a panned image into a square crop.
Play around with these options, and you can transform your generated images into larger scenes. One thing to note: while Pan commands can create images larger than 1024 x 1024 px, Zoom commands can’t. So, zoomed-out images will have a lower resolution than the original. Get ready for some creative exploration.
5. Save your image
Fantastic! Once your masterpiece is ready, follow these simple steps to seal the deal:
- Click to Expand: First, click on the image to let it bask in full-size glory.
- Right-Click and Save: Next, right-click on the expanded image, and from the options, select “Save image.”
Voila! Your creation is now safely stored on your device. Easy as pie!
How to write an effective Midjourney prompt
Absolutely! While the buttons offer a convenient playground, the real enchantment unfolds when you provide Midjourney with stellar suggestions. Mastering the art of crafting effective prompts is the key to unlocking remarkable results from all generative AI tools.

Midjourney stands out as one of the most user-friendly AI image generators. Its default style leans heavily towards the artistic, outshining even DALL·E 2. This means even straightforward prompts like “a cow” can result in visually impressive outcomes. The real game-changer? Your knack for fine-tuning those prompts for the best artistic results.
Be specific
Absolutely! When you’re coming up with prompts for Midjourney, remember: the more specific and detailed, the better. Be vivid and explicit about your vision, using strong language, specific quantities, and references. In simple terms, write down exactly what you want to see.

Here’s a handy tip: “A childish painting of three enormous mice devouring a house crafted from cheese” outshines “a painting of mice eating a cheese house” by a mile. The devil’s in the details, and the richer your description, the better Midjourney can bring your imaginative ideas to life.
Consider the details
Absolutely! When working with Midjourney, it’s wise to take into account various elements like the subject, medium, environment, lighting, color, mood, and composition in your requests. For instance, a prompt like “A painted portrait of a Belgian shepherd in the woods.
Strong moonlight, deep blue colors, calm vibes” provides Midjourney with a rich palette of details to craft your desired image. The more you consider and include, the better Midjourney can bring your creative vision to life.
How to manage Midjourney settings

Midjourney has lots of different settings and options. The /settings command is a handy shortcut that lets you set some default values for some of the big ones. These include:
- The dropdown lets you select what version of the Midjourney algorithm you want to use, including the Niji models, which generate anime-style images.
- RAW Mode, Stylize low, Stylize med, Stylize high, and Stylize very high set how strongly Midjourney’s default artistic style is applied to your images.
- Turbo mode generates images approximately four times as fast at twice the cost, Fast mode is the default mode, and Relax mode is the free, unlimited mode for Pro plan subscribers.
- High Variation Mode and Low Variation Mode determine how much variation there is when you use the V buttons.
- Remix mode allows you to change aspects of your prompt when creating new variations. It gives you more control, but it can make things a lot more complicated.
- Public mode and Stealth mode set whether your generated images are public or private by default.
Stay tuned
Midjourney is still in beta and under very active development, so things are changing fast. Hopefully, over the next while, the developers will introduce features that allow Midjourney to fit better as part of a workflow—maybe even with Zapier support.